How to Crochet a Granny Square for Beginners (Step by Step)
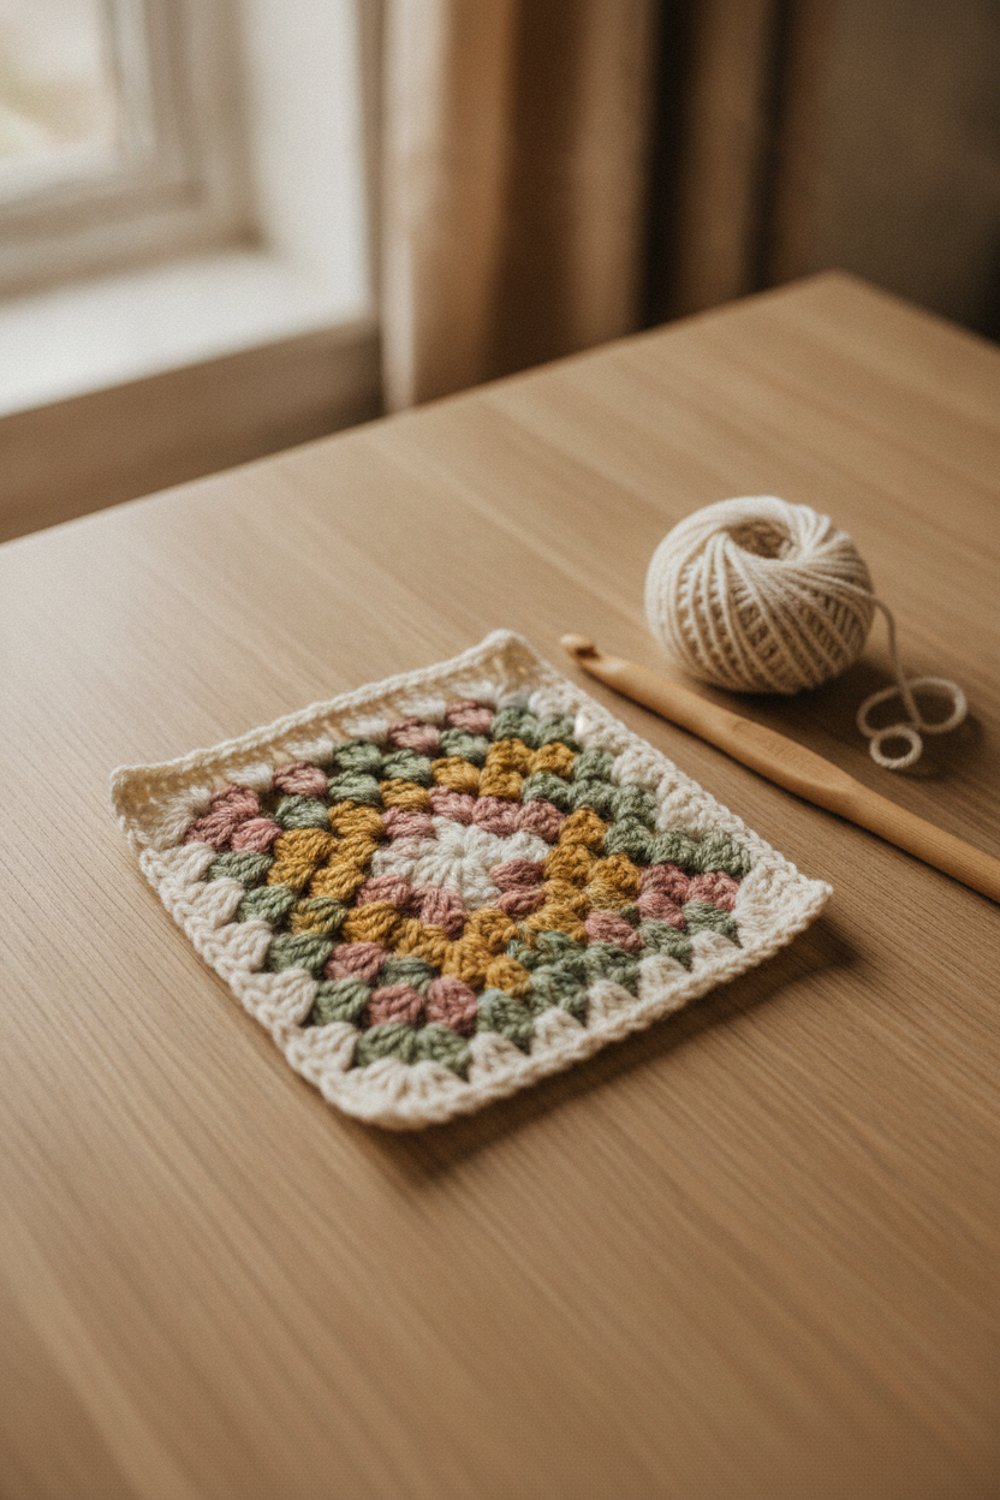
The classic granny square is one of the best first projects in crochet. It uses only chains, slip stitches and double crochet, a small one works up in a single sitting, and once you know it you can make blankets, bags, pillows and even cardigans.
This guide walks you through a traditional granny square one round at a time. You will learn what each part of the square is, how to turn the corners, how to change colors, and how to fix the problems most beginners run into. All instructions use US crochet terms.
What You’ll Need
- Worsted weight (#4) acrylic yarn in 2 to 4 colors
- A 5.5 mm (I-9) crochet hook
- A yarn needle (tapestry needle) for weaving in ends
- Small scissors
- Locking stitch markers (optional, but handy)
- A blocking mat and pins (optional)
Why worsted weight? It is thick enough to see your stitches clearly and it is easy to find in every color. The Craft Yarn Council lists 5.5 to 6.5 mm (I-9 to K-10.5) as the usual hook range for worsted yarn, so a 5.5 mm hook is a good middle choice. For example, Red Heart Super Saver, a common budget worsted, gives its crochet gauge on a 5.5 mm (US I-9) hook.
The Parts of a Granny Square
Before you start, it helps to know three words you will see in almost every granny square pattern:
| Term | What it means |
|---|---|
| Cluster | A group of 3 double crochet (dc) worked into the same space |
| Corner | Two clusters with a chain-2 space between them: (3 dc, ch 2, 3 dc) |
| Side space | The small chain-1 space between clusters along each side |
Every round is built the same way: clusters in the corners, clusters in the side spaces, and a chain between each group. Once you see that pattern, you can keep going for as many rounds as you like.
How to Crochet a Granny Square Step by Step
Abbreviations: ch = chain, sl st = slip stitch, dc = double crochet, sp = space.
Round 1: The center
Step 1: Make a slip knot and chain 4. Join with a sl st into the first chain to form a small ring. (You can use a magic ring instead if you know how. It closes up tighter.)
Step 2: Chain 3. This counts as your first dc.
Step 3: Work 2 dc into the ring. You now have your first cluster.
Step 4: Chain 2, then work 3 dc into the ring. Repeat this two more times, so you have 4 clusters in total.
Step 5: Chain 2, then sl st into the top of the starting chain-3 to close the round.
You should now see a tiny square with 4 clusters and 4 chain-2 corner spaces.
Round 2: Your first real corners
Step 6: If you are changing colors, fasten off and join the new color in any ch-2 corner space. If you are using one color, sl st across the next 2 dc and into the corner space.
Step 7: Chain 3 (counts as a dc), then work 2 dc, ch 2, 3 dc into that same corner space. This is your first corner.
Step 8: Chain 1. Into the next corner space, work 3 dc, ch 2, 3 dc. Repeat this step in the remaining two corners.
Step 9: Chain 1 and sl st into the top of the starting chain-3.
You now have 8 clusters: 2 in each corner.
Round 3 and beyond: Adding side clusters
Step 10: Join your next color (or sl st over) to any corner space. Chain 3, then work 2 dc, ch 2, 3 dc into that corner.
Step 11: Chain 1, then work 3 dc into the next ch-1 side space. Chain 1.
Step 12: In the next corner, work 3 dc, ch 2, 3 dc. Keep going around: 3 dc in each side space, a full corner in each corner, and ch 1 between every group.
Step 13: Chain 1 and sl st into the top of the beginning chain-3.
Every new round adds one more cluster to each side. Round 3 has 1 side cluster per side, round 4 has 2, round 5 has 3, and so on.
Finishing the square
Step 14: Fasten off by cutting the yarn and pulling the tail through the last loop.
Step 15: Thread the tail onto your yarn needle and weave it through the backs of your stitches for a few inches, changing direction once so it stays put. Do this for every tail.
Step 16: If your square curls or looks a little crooked, pin it flat, mist it with water, and let it dry. This is called blocking and it makes joining much easier later.
How Big Will My Square Be?
Size depends on your yarn, hook and tension, so always measure your own. As one real example, Sarah Maker’s free Granny Square Blanket pattern uses Lion Brand Heartland worsted yarn and a 6 mm (J-10) hook, and her 5-round square measures 6 inches after blocking. If you use a smaller hook, your square will be a bit smaller.
A quick plan:
| Want a… | Try this |
|---|---|
| Coaster or practice piece | 3 to 4 rounds |
| Blanket square | 5 to 6 rounds |
| One big “granny blanket” | Keep adding rounds until it is the size you want |
Common Mistakes (and How to Fix Them)
- The square twists or leans. Granny squares worked in the round tend to slant a little. Turning your work at the end of each round, and working the next round from the other side, helps keep it straight. Blocking fixes small slants.
- Corners look rounded instead of sharp. You probably used ch 1 in the corners instead of ch 2. Corners need the extra chain to stay square. Some patterns use ch 3 for an even crisper point.
- The sides ruffle or wave. This usually means an extra cluster crept into a side. Count your side clusters. Each side should have one more cluster than the round before.
- The sides pull in and cup. You may have skipped a side space. Check that every ch-1 space has a cluster in it.
- A gap at the start of each round. The chain-3 is often looser than a real dc. Try a chain-2 instead, or learn the standing double crochet.
- Big hole in the center. Use a magic ring, or pull the starting tail tight and stitch the hole closed when weaving in ends.
Tips
- Use a light, solid color while you learn. Dark and fuzzy yarns hide your stitches.
- Change the corner where you start each new round. This spreads out your joins and keeps one corner from looking bulky.
- Weave in ends as you go. Twenty squares with eight tails each is a lot of weaving to save for the end.
- Make one test square, block it, and measure it before you plan a whole blanket.
- If you prefer to learn by watching, Just Be Crafty has a classic granny square photo and video tutorial that uses a 5.5 mm hook and worsted yarn.
- Keep the same hook and yarn for every square in one project so your squares match in size.
FAQ
How long does it take to crochet a granny square?
It depends on your speed, yarn and number of rounds, but most beginners can finish a small 4- or 5-round square in one sitting. You get faster quickly, because every round repeats the same few moves. Color changes and weaving in ends add time, so a single-color square is the fastest way to practice.
What is the easiest yarn for a granny square?
A smooth, light-colored worsted weight (#4) acrylic is the easiest. It is affordable, it does not split much, and it is machine washable, which matters for blankets. Avoid fuzzy, very dark, or slippery yarns until you can read your stitches without thinking about it.
Do I need to know how to read a pattern first?
No. You only need to know how to chain, slip stitch and double crochet. The granny square actually teaches you pattern reading, because you will see the same abbreviations (ch, dc, sp, sl st) over and over until they feel natural.
Once your first square is done, make three more, and you have the start of your first granny square blanket.