How to Join Granny Squares (7 Easy Methods)
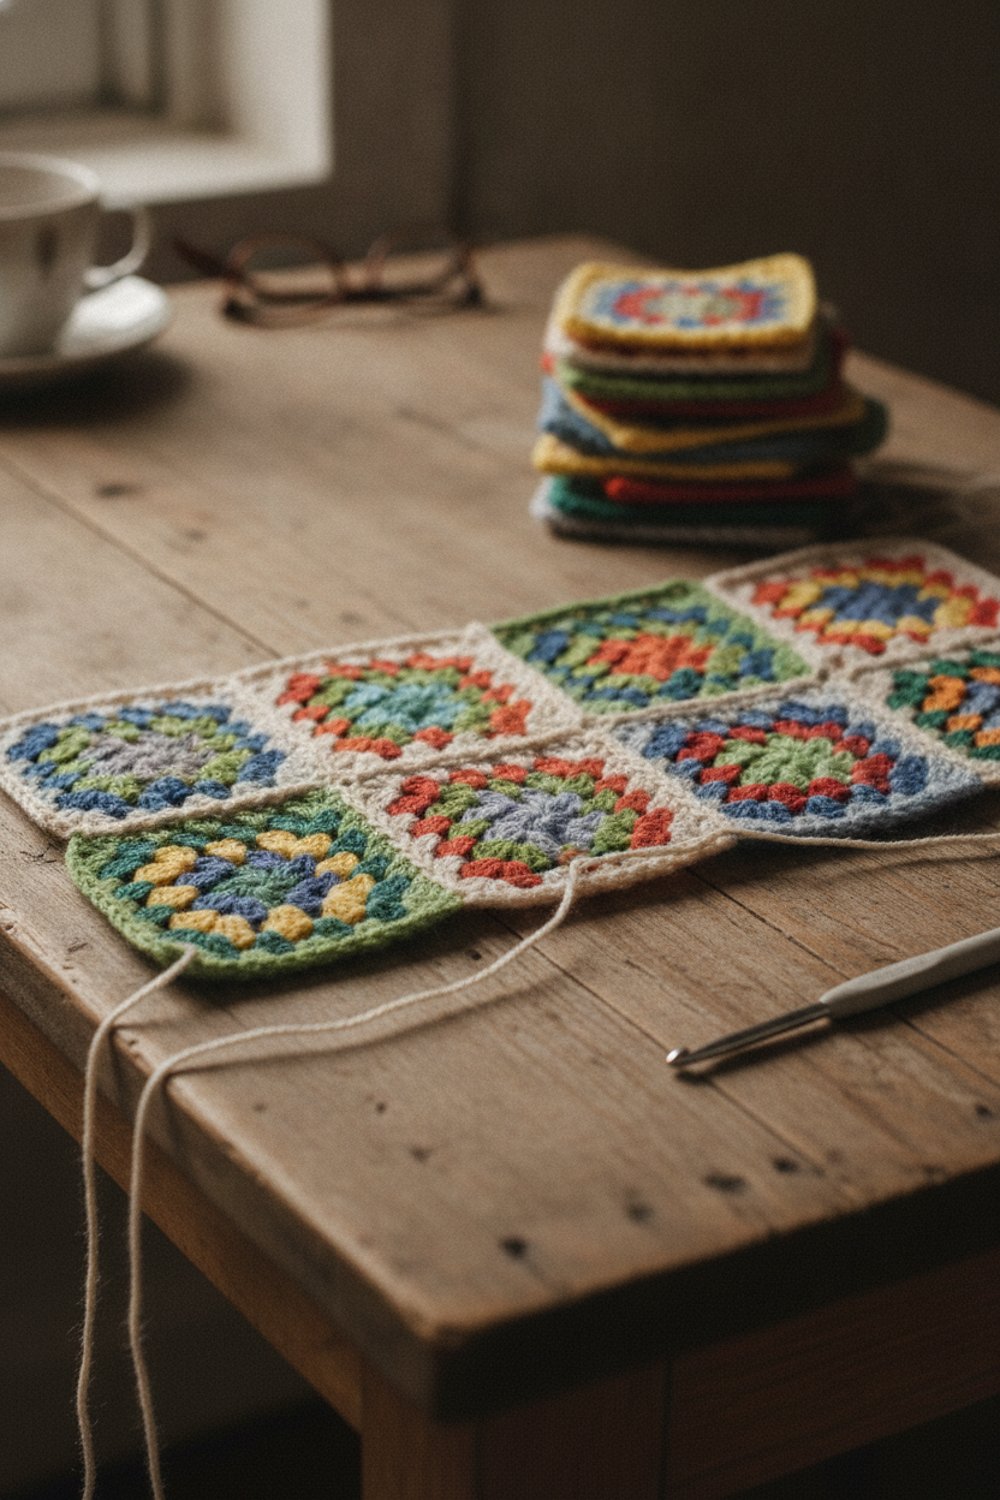
You have a pile of finished granny squares. Now comes the part that turns them into a blanket, bag or cardigan: joining. The method you choose changes how the finished piece looks and feels, so it is worth knowing a few.
Below are 7 easy ways to join granny squares, from sewn seams you cannot see to crocheted joins that become part of the design. Each one includes simple steps, what it looks like, and when to use it. All terms are US crochet terms.
What You’ll Need
- Your finished, blocked granny squares
- Matching or contrasting yarn in the same weight as your squares
- A crochet hook the same size you used for the squares, or one size smaller
- A blunt yarn needle (tapestry needle)
- Locking stitch markers or clips to hold squares together
- A blocking mat and rust-proof pins
- Small scissors
Before You Join: Three Quick Checks
Step 1: Block your squares so they are all the same size and flat. Joining crooked squares makes a crooked blanket.
Step 2: Lay everything out on the floor or bed and arrange the colors until you like it. Take a photo so you remember the layout.
Step 3: Count the stitches along one side of a square, including the corner chain. Each side should have the same count, so your stitches line up stitch for stitch when you join.
Quick Comparison
| Method | Tool | Seam look | Best for |
|---|---|---|---|
| 1. Whip stitch | Needle | Small visible ridge | Beginners, small projects |
| 2. Mattress (invisible) stitch | Needle | Nearly invisible | Blankets where you want no seam |
| 3. Slip stitch seam | Hook | Firm ridge on back | Bags, sturdy items |
| 4. Flat slip stitch join | Hook | Flat line on front | Blankets with a neat, flat finish |
| 5. Single crochet seam | Hook | Raised ridge | A bold, decorative outline |
| 6. Zigzag chain join | Hook | Open, lacy ladder | Light, airy throws |
| 7. Join as you go | Hook | Seamless | Skipping the sewing step |
Method 1: Whip Stitch
This is the classic sewn join and the easiest one to learn.
Step 1: Place two squares right sides together, with the edges lined up.
Step 2: Thread your needle with a long length of yarn. Starting at one corner, push the needle through both squares from front to back, catching the outer loops (or both loops) of the matching stitches.
Step 3: Bring the needle back over the top edge and go into the next pair of stitches. Keep going to the corner.
Use whip stitch for coasters, pillow covers and first projects. It is quick but leaves a small ridge.
Method 2: Mattress (Invisible) Stitch
When you want squares to look like one piece of fabric, this is the join to use.
Step 1: Lay two squares side by side, right sides facing up.
Step 2: With a threaded needle, go under the inside loop of the first stitch on the left square, then under the inside loop of the matching stitch on the right square.
Step 3: Keep zigzagging back and forth. Every few stitches, gently pull the yarn snug and the seam closes up and disappears.
Sarah Maker suggests a mattress stitch or a flat slip-stitch seam for her free Granny Square Blanket, joining all the rows first and then the columns.
Method 3: Slip Stitch Seam
This is the fastest hook join and it makes a very firm seam.
Step 1: Hold two squares right sides together.
Step 2: Insert your hook through both squares at the corner chain, pull up a loop of yarn, and slip stitch.
Step 3: Slip stitch through each matching pair of stitches across the edge. Keep your tension loose so the seam does not pucker.
The ridge sits on the back, which makes this a good pick for bags and baskets where strength matters more than drape.
Method 4: Flat Slip Stitch Join
This one gives you a neat, flat line on the front of your work.
Step 1: Lay the squares side by side, right sides up.
Step 2: Make a slip stitch into the back loop of the first stitch on one square, then a slip stitch into the back loop of the matching stitch on the other square.
Step 3: Keep alternating between the two squares, working only into the back (inside) loops. The front loops on each side frame the seam like a neat little chain.
It lies very flat, so it is great for blankets that will be folded over a couch.
Method 5: Single Crochet Seam
Want your joins to show? Use single crochet in a contrast color, like black, cream or navy, to outline every square.
Step 1: Hold two squares wrong sides together so the seam faces you on the right side.
Step 2: Work 1 sc through both squares in each matching stitch along the edge.
Step 3: At the end, chain 1 and continue onto the next pair of squares in the row.
This makes a raised, cord-like ridge. Some crocheters love it, some do not, so test it on two squares first.
Method 6: Zigzag Chain Join
This open join adds a lacy “ladder” between squares and stretches your yarn further.
Step 1: Lay two squares side by side. Slip stitch into the corner space of the first square.
Step 2: Chain 2 (or 3), then slip stitch into the matching space on the second square.
Step 3: Chain 2 again and slip stitch into the next space on the first square. Keep zigzagging to the end.
It works best with classic granny squares, because the chain spaces give you clear places to land.
Method 7: Join As You Go
With join as you go (often called JAYGO), you connect each new square during its last round, so there is nothing to sew at the end.
Step 1: Make your first square completely.
Step 2: Make the next square up to its last round. Work that round as normal until you reach the side that will touch the first square.
Step 3: Wherever the pattern says to chain between clusters, slip stitch into the matching space on the finished square instead. At the corners, do the same with one of the corner chains.
Step 4: Finish the round as normal. Repeat for every square, joining to one or two neighbors as you go.
Joy of Motion Crochet has a free tutorial showing three ways to join granny squares as you go, with a video for each method.
If you want even more ideas, Oombawka Design keeps a long list of unique ways to join afghan squares, including braid, zipper and lace joins from many designers.
Common Mistakes (and How to Fix Them)
- Seams pucker or pull. Your tension is too tight. Go up a hook size for the join, or leave the yarn a little looser between stitches.
- Rows do not line up. You skipped or doubled a stitch. Pin the corners together first, then the middle of each side, before you join.
- Corners have holes. Work into both corner chains of each square, and add an extra stitch at the meeting point of four corners if needed.
- Seams look messy on the front. For sewn joins, use yarn the same color as the last round of your squares. For crochet joins, decide which side is the “right side” before you start and stick with it.
- The blanket ends up skewed. Join in strips (all rows first, then all columns) instead of adding squares in random order.
Tips
- Join with long lengths of yarn to cut down on ends. Weave each end into the seam itself, where it hides well.
- Use clips or stitch markers every few inches to keep edges matched.
- Try your favorite two methods on spare squares and compare them before committing to a whole blanket.
- Neutral joining colors, like cream or gray, calm down very busy, scrappy squares.
- Block again after joining. A light steam or mist evens out the seams.
FAQ
What is the easiest way to join granny squares?
For most beginners, the whip stitch is the easiest because it only uses a needle and a simple over-and-through motion. If you would rather use a hook, the slip stitch seam is just as simple. Both are forgiving, and you can undo them easily if a seam goes wrong.
What is the best join for a granny square blanket?
For a soft, flat blanket, the mattress stitch and flat slip stitch join are both great choices because they lie flat and do not add a stiff ridge. If you do not want to sew at all, join as you go saves a lot of finishing time.
Should I join granny squares with the same color?
It depends on the look you want. A matching color makes seams blend in, while a contrast color, often cream, white or black, frames each square and makes the colors pop. Many crocheters pick one solid joining color to tie a scrappy blanket together.
Pick one method, practice on two squares, and your pile of squares will be a blanket before you know it.