How to Crochet a Blanket Border (Easy Step-by-Step Guide)
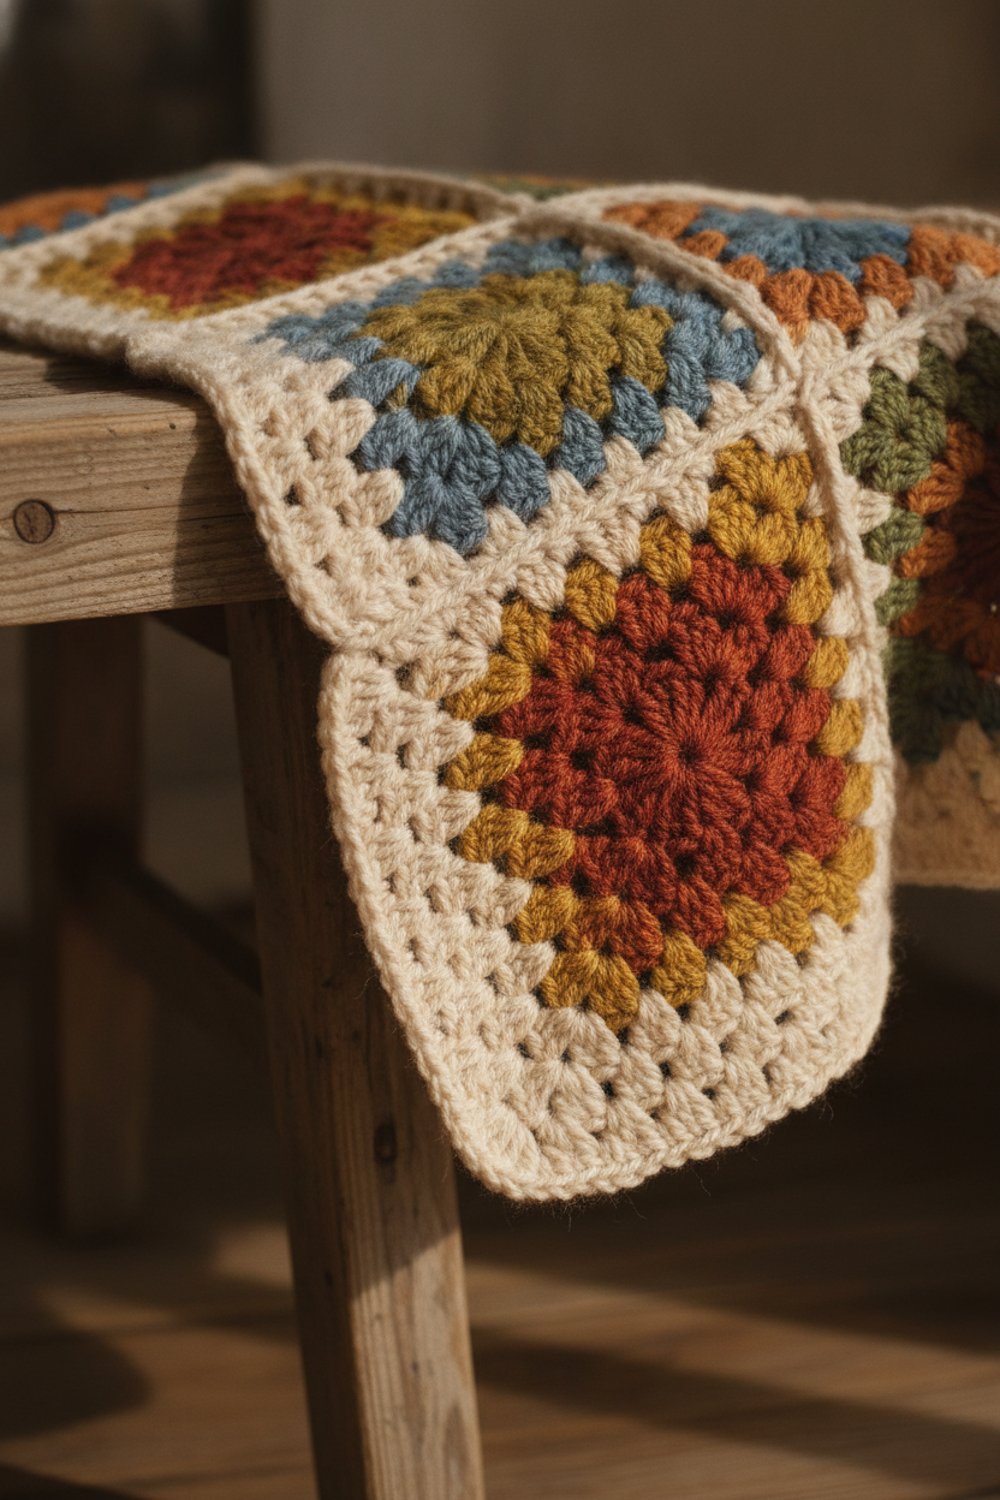
A border is like a frame on a picture. It hides wobbly edges, squares up the corners, and makes a handmade blanket look finished. The good news is that most borders start the exact same way, so once you learn the base round you can add almost any style on top.
This guide shows you how to crochet a blanket border step by step, including how to space stitches along the sides, how to make sharp corners, and five easy border styles that work on granny square, striped and solid blankets. All terms are US crochet terms.
What You’ll Need
- Yarn in the same weight as your blanket (buy extra if you plan a wide border)
- A crochet hook the same size you used for the blanket, or one size smaller
- Locking stitch markers
- A yarn needle
- Scissors
- A measuring tape
Step 1: Get the Blanket Ready
Step 1: Weave in every loose end on the blanket. Ends are much harder to hide once the border is on.
Step 2: Lay the blanket flat and check that opposite sides are the same length. If one side is longer, you can ease it in a little by working slightly fewer stitches along it.
Step 3: Put a stitch marker in each corner so you can find them easily.
Step 2: Work the Base Round
Almost every border starts with a round of single crochet. It gives you an even row of stitches to build on, no matter how messy the edge underneath. Daisy Farm Crafts, B.Hooked and Sarah Maker all start their borders this way.
Step 1: Join your yarn in any corner. Chain 1.
Step 2: Work 3 single crochet (sc) into the corner stitch or corner space.
Step 3: Work 1 sc into each stitch along the top edge.
Step 4: At the next corner, work 3 sc into the corner.
Step 5: Along the side edges (where the ends of rows are), space your stitches evenly. See the spacing chart below.
Step 6: Continue around all four sides. Join with a slip stitch to the first sc.
How to Space Stitches Along the Sides
Tops and bottoms are easy: one stitch into each stitch. The sides are trickier because you are working into the ends of rows. Use these as starting points, then adjust if the edge waves or pulls:
| Blanket edge | Try this many sc |
|---|---|
| Top or bottom of any blanket | 1 sc in each stitch |
| Side of single crochet rows | 1 sc in each row end |
| Side of half double crochet rows | About 3 sc for every 2 row ends |
| Side of double crochet rows | 2 sc in each row end |
| Granny square blanket | 1 sc in each stitch and 1 sc in each chain-1 space |
| Granny square seam | 1 sc in each corner space on either side of the seam |
How to check: After 10 or 12 inches, lay the blanket flat. If the border ruffles, you have too many stitches. If it pulls in and the blanket cups, you need more. Rip back a little and adjust. It is worth it.
Step 3: Choose a Border Style
Once the base round is done, add any of these on top.
1. Simple single crochet border
Just keep going with more rounds of sc, with 3 sc in the center stitch of every corner. Sarah Maker finishes her free Granny Square Blanket with one round of sc worked through the back loops, with 3 sc in each corner, for a clean, slim edge.
Best for: Modern blankets, baby blankets, beginners.
2. Half double crochet border
Step 1: Chain 2. Work 1 hdc in each stitch around.
Step 2: In each corner, work 3 hdc in the center sc of the corner.
Step 3: Join and repeat for as many rounds as you like.
Best for: A slightly taller, soft edge that works up fast.
3. Granny stitch border
This is the perfect finish for a granny square blanket.
Step 1: Work clusters of 3 dc along the edge, skipping a few stitches between each cluster so the edge lies flat.
Step 2: In each corner, work (3 dc, ch 2, 3 dc).
Step 3: On the next round, work 3 dc in each space between clusters, and (3 dc, ch 2, 3 dc) in each corner.
B.Hooked shows this one, along with a ribbing, picot dots, braided and beaded tassel border, in her free roundup of crochet borders for blankets, which includes a video.
Best for: Granny square and granny stripe blankets.
4. Shell border
Step 1: Skip 2 stitches, work 5 dc in the next stitch, skip 2 stitches, then sc in the next stitch. Repeat around.
Step 2: At each corner, put a shell right in the center corner stitch.
You may need to fudge the spacing a little so a shell lands on each corner. That is normal.
Best for: Baby blankets and vintage-style throws.
5. Crab stitch (reverse single crochet) border
Step 1: Do not turn. Work single crochet from left to right (if you are right-handed) into each stitch.
Step 2: At corners, work 2 or 3 crab stitches in the corner so it does not pull.
It makes a firm, twisted, rope-like edge.
Best for: Blankets that get a lot of use, like car or picnic blankets.
Want Something Fancier?
Daisy Farm Crafts has a free front bottom loop half double crochet border tutorial with a video. It is worked sideways onto the base round and makes a thick, knit-look edge.
Common Mistakes (and How to Fix Them)
- The border ruffles. Too many stitches. Work fewer stitches along the sides, or go down a hook size.
- The blanket cups or the corners curl up. Too few stitches. Add more along the sides and make sure each corner has 3 stitches in it.
- Corners look rounded. You may have forgotten to increase. Every round needs extra stitches in the corner, usually 3 in the center stitch.
- The edge pulls tighter than the blanket. Borders are often worked tighter than the body. Try a hook one size bigger for the border.
- A shell or picot pattern does not fit. Count your base round and adjust a few stitches so the repeat fits each side evenly. B.Hooked points out that your stitch count needs to divide evenly around the blanket, corners included.
Tips
- Work the base round in the same color as the blanket edge. It hides uneven spacing better than a contrast color.
- Count the stitches on each side of the base round and write them down. It makes pattern borders much easier.
- For a big blanket, check spacing on the first side before you go all the way around.
- Block the blanket after the border is done. Most small waves disappear with a gentle steam or mist.
- Choose your border before you finish the blanket, so you can buy enough yarn in the same dye lot.
FAQ
How many stitches go in the corner of a crochet blanket border?
The most common answer is 3 stitches in the corner: for example, 3 sc into the corner stitch or space. On the next round, put 3 stitches into the center stitch of the previous corner. For granny and shell borders, a corner is often (3 dc, ch 2, 3 dc) or a full shell.
Do I need a border on my crochet blanket?
You do not have to add one, but a border makes the edges straighter, hides uneven row ends, and helps the blanket hold its shape after washing. Even one round of single crochet makes a big difference to how finished a blanket looks.
How wide should a blanket border be?
It is up to you. One or two rounds gives a slim, modern edge. Wider borders of 2 to 4 inches look cozy and can make up for a blanket that came out a little small. Keep in mind that every extra round uses more yarn than the round before.
Pick one border, start with a neat base round, and your blanket is only a few evenings away from done.