How to Crochet a Solid Granny Square (No Gaps)
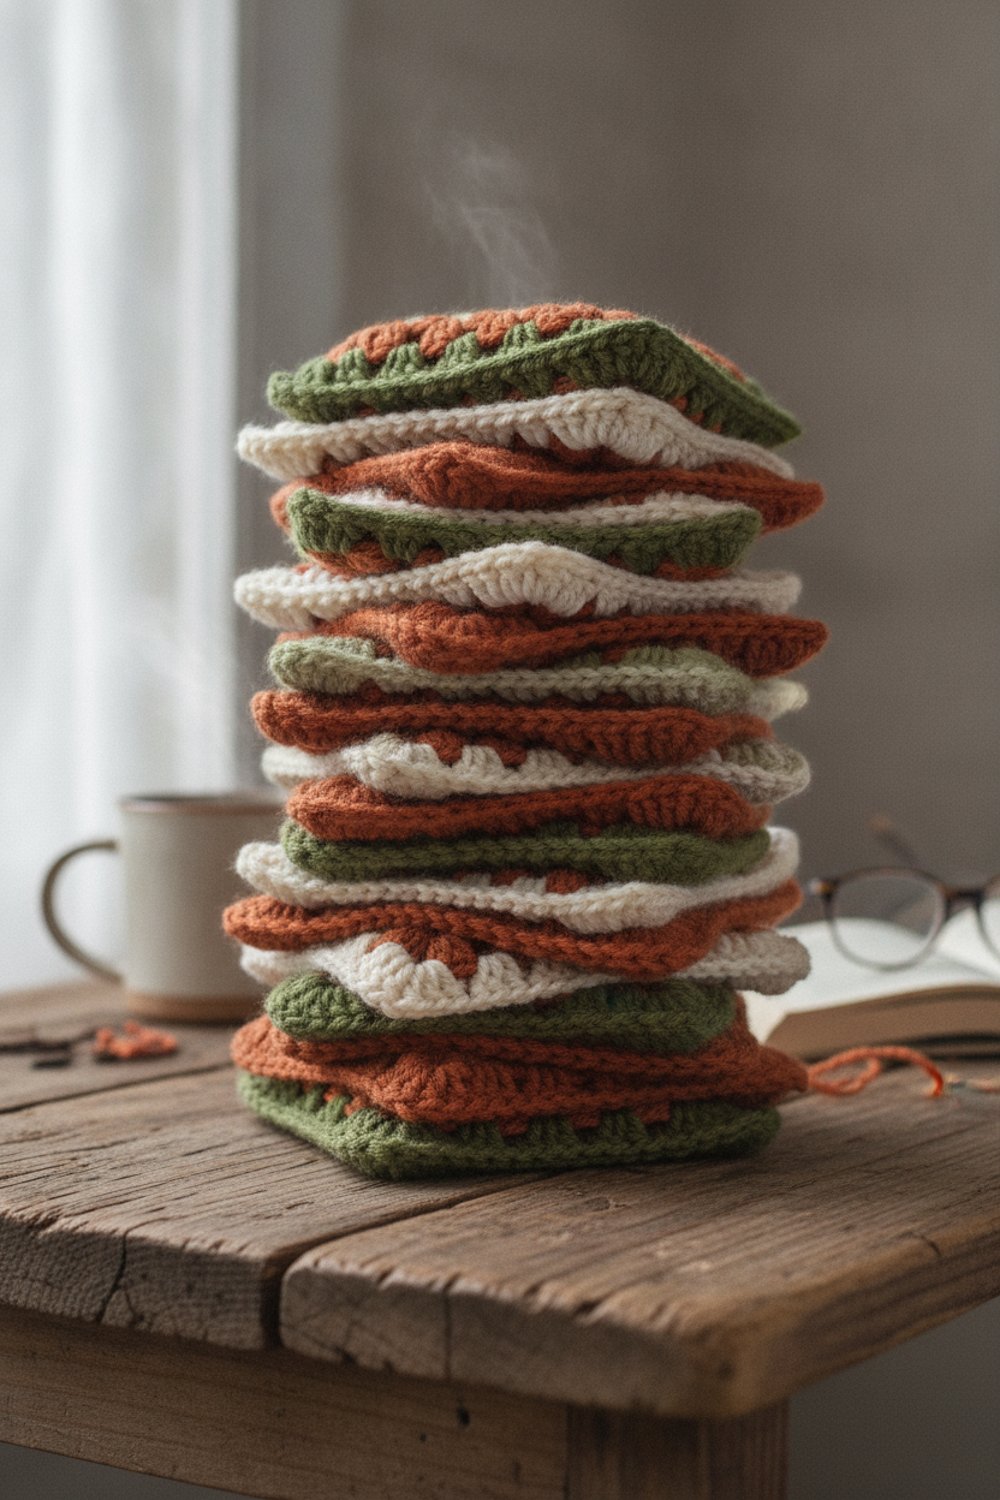
A classic granny square has little holes between the clusters. That lacy look is lovely, but sometimes you want a square that is warm, dense and solid, with no gaps at all. Think winter blankets, cushion covers, bags that should not stretch, or squares that show off a pattern or color block.
In this guide you will learn how to crochet a solid granny square with no gaps, one round at a time, with stitch counts so you can check your work. We also cover two easy variations and how to fix the most common problems. All terms are US crochet terms.
What You’ll Need
- Worsted weight (#4) yarn in one or more colors
- A 5 mm (H-8) crochet hook
- A yarn needle
- Scissors
- Stitch markers to mark the corners
- A blocking mat and pins (optional)
Why Solid Squares Have No Gaps
In a classic granny square you work clusters into chain spaces, and those spaces leave holes. In a solid square you work into every stitch instead. You skip the side chain spaces completely, so the fabric fills in.
The tricky part is the corners. The method below, based on Sarah Maker’s free solid granny square with no gaps tutorial, turns each corner with a single treble crochet instead of a chain space. That keeps the corners firm and almost hole-free. Her version uses worsted weight yarn and an H (5 mm) hook and makes a square about 5 inches across after 5 rounds.
How to Crochet a Solid Granny Square Step by Step
Abbreviations: ch = chain, sl st = slip stitch, dc = double crochet, tr = treble crochet, st(s) = stitch(es).
Round 1
Step 1: Make a magic ring, or chain 5 and join with a sl st to form a ring.
Step 2: Chain 4. This counts as your first tr, which is your first corner.
Step 3: Work 3 dc into the ring.
Step 4: Work (1 tr, 3 dc) into the ring three more times.
Step 5: Join with a sl st to the top of the beginning chain-4. Pull the magic ring tight.
Check: 16 stitches: 4 corner tr and 3 dc on each side.
Round 2
Step 6: Chain 4 (counts as a tr), then work 2 dc into the same stitch. This is half of your first corner.
Step 7: Work 1 dc into each dc along the side.
Step 8: When you reach a corner tr, work (2 dc, 1 tr, 2 dc) into it.
Step 9: Repeat Steps 7 and 8 around. At the very end, work 2 dc into the first corner stitch and sl st to the top of the beginning chain-4.
Check: 32 stitches: 4 corner tr and 7 dc on each side.
Round 3 and beyond
Step 10: Repeat Round 2. Every round adds 4 dc to each side.
| Round | Stitches per side (not counting corners) | Total stitches |
|---|---|---|
| 1 | 3 dc | 16 |
| 2 | 7 dc | 32 |
| 3 | 11 dc | 48 |
| 4 | 15 dc | 64 |
| 5 | 19 dc | 80 |
Step 11: Fasten off and weave in your ends. Use the starting tail to close up any small hole in the center.
Variation 1: Chain-2 Corner Solid Square
This is the version many older patterns use. It has a tiny eyelet at each corner, which makes joining easy.
Step 1: Ring, chain 3 (counts as dc), 2 dc in ring, ch 2, then (3 dc, ch 2) three times. Join.
Step 2: On each new round, work 1 dc in every dc along the sides and (2 dc, ch 2, 2 dc) in each ch-2 corner space.
The sides are fully solid, and only the corners have small openings. If you plan to join with a slip stitch or single crochet seam, those corner spaces give you a clear place to start.
Variation 2: The Color-Block Solid Square
Want the classic granny square look without the holes? Change color every round using either method above. Join each new color in a different corner so your joins do not stack up. Solid squares with color changes look great in blankets where you want a bold, graphic look.
Getting Rid of the Last Little Gaps
Even solid squares can show a few small openings. Here is where they hide and what to do:
- The center: Use a magic ring instead of a chain ring, and pull it tight before weaving in the tail.
- The starting corner: A chain-4 is often looser than a real treble. Sarah Maker suggests trying a chain-3 instead, or using a standing treble.
- The other corners: If they still look open, add an extra tr in the corner, or go down half a hook size.
- Between stitches: Small gaps between dc are normal with loose tension. A smaller hook makes the fabric denser.
Common Mistakes (and How to Fix Them)
- The square twists like a pinwheel. Solid squares worked in the round always from the front tend to lean. Turn your work at the end of each round and work the next round from the back. Blocking also helps a lot.
- The sides wave or ruffle. You have too many stitches on a side. Count each side: it should match the table above.
- The square cups or curls up. You may have missed the extra dc on each side of a corner. Every corner needs (2 dc, tr, 2 dc).
- Corners look rounded. Make sure the corner stitch is a treble, not a double crochet. The extra height is what makes the point.
- You lose track of the corners. Put a stitch marker in each corner tr as you make it, then move it up each round.
Tips
- Solid squares use more yarn than lacy granny squares of the same size, because every stitch is filled in. Buy a little extra.
- Use a smooth, light-colored yarn for your first few squares so you can see each stitch.
- Mark the right side of your square with a scrap of yarn so you join all squares the same way.
- Block all your squares to the same size before joining. Pin them to a mat, mist them, and let them dry.
- For a blanket, a flat slip stitch join or mattress stitch keeps solid squares looking smooth.
FAQ
What is the difference between a granny square and a solid granny square?
A classic granny square is made of 3-dc clusters worked into chain spaces, which leaves small holes in the fabric. A solid granny square is worked into every stitch, so there are no side gaps. It is denser, warmer and a little heavier, and it shows color blocks and stripes very clearly.
Why does my solid granny square twist?
Most crocheters’ stitches lean slightly in one direction. When every round is worked from the front, that lean builds up and the square twists. Turning your work after each round cancels most of it out, and blocking the finished square takes care of the rest.
How many rounds should a solid granny square have?
It depends on the size you need. With worsted yarn and a 5 mm hook, 5 rounds gives you about a 5-inch square in Sarah Maker’s version. Make one test square, measure it after blocking, then add or remove rounds to hit your target size.
Once you have the corners down, you can make solid squares in any size, color or yarn you like.